I got lots of recipe requests for this chicken after the banquet. Though I think my helpers questioned whether this chicken was worth all of the steps to prep it, I think it was!
PARMESAN CRUSTED CHICKEN BREAST
2 cups chicken broth
1 teaspoon salt
4 large boneless skinless chicken breast fillets (Sam's Club has great prices on chicken breasts)
4 eggs
1/2 cup flour
1 cup Panko bread crumbs (usually found in the Asian food section of your store--they're Japanese bread crumbs)
1 cup shredded Parmesan cheese (note: I used shredded Parmesan, not the grated powdery stuff)
1/2 tsp. salt
1/2 tsp ground black pepper
NOTE: If you cut your chicken breasts into two or three sections, you may find that you need more Panko and Parmesan than stated in the recipe--more surface area to cover!
Lemon Chardonnay Butter Sauce
1/4 cup salted butter
1/4 cup chardonnay wine (I substituted chicken broth)
2 T lemon juice
3/4 tsp. sugar
1 1/2 cups heavy cream
GARNISH: chopped sundried tomatoes, fresh basil and shredded Parmesan
Make a brine for your chicken by dissolving the salt in the chicken broth in a bowl. Cover the chicken breasts with plastic wrap and pound each one to about 1/2 inch thick with the flat side of a kitchen mallet. After they were flattened, I cut each breast in half. Add flattened chicken to the brine; cover and chill for two to three hours.
When chicken has marinated, remove the fillets from the brine and dab with paper towels to remove excess liquid. Beat eggs in a medium bowl and pour flour onto a plate. Combine panko bread crumbs, Parmesan, salt and pepper in another bowl. To bread the chicken, first coat each fillet with flour, then egg, and then the Parmesan mixture. Let the breaded fillets rest for a bit on a plate in your fridge while you prep the butter sauce.
Make the butter sauce by melting the butter in a small saucepan over medium heat. Add wine/broth and simmer for 1 minute. Stir in lemon juice, sugar and salt, and then add cream. Simmer over low heat for 10 to 12 minutes, until thicker.
Add enough oil to cover the bottom of a large saute pan, and heat over medium/low until hot. You can check the heat of the oil by dropping a bread crumb into it. If it starts to sizzle, your oil is ready. Saute each breaded chicken fillet in the oil for four to five minutes per side, until brown. Remove the fillets to a paper towel-covered plate until ready to serve (if you're making 200 pieces, like we were, you can hold them in the oven until you get the rest cooked). Serve each fillet with a couple of tablespoons of butter sauce spooned over the top. Pile a tablespoon of Parmesan on each fillet, followed by a heaping teaspoon of minced sun-dried tomatoes and some chopped basil.
Tuesday, December 14, 2010
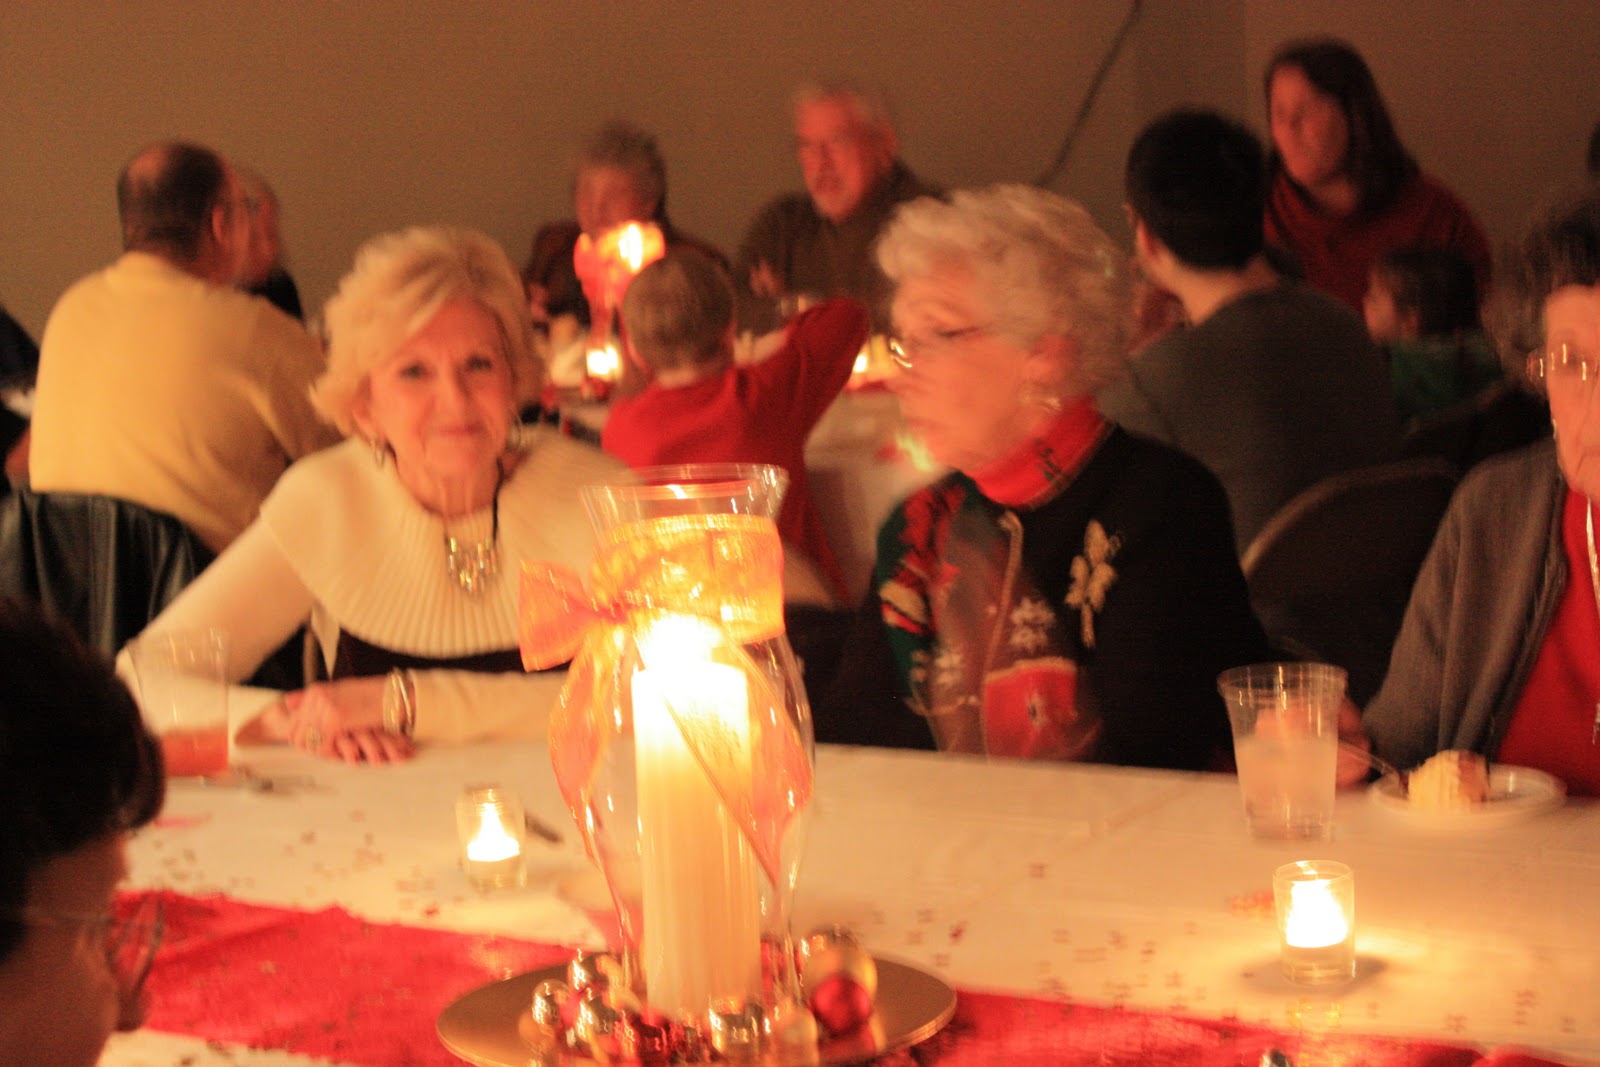
The JABC Christmas Banquet

This year, we got the fun task of decorating our brand new, very spacious gymnasium. We were DELIGHTED with the space but challenged by how to turn that giant beige box into something with some ambiance! We also got the pleasure of cooking in our brand new kitchen. . .what a blessing!


Banquet planning schedule:
Thinking about and trying possible banquet foods--all year long
Trying out final dessert candidates on my Close to My Heart customers September through November
Hope to have the menu set by Thanksgiving (didn't happen this year)!

One week before banquet: start trucking LOADS of groceries to my house or the church.
Thursday before banquet: Make cheesecakes (usually about a dozen)
Friday before banquet (9 a.m. to 9 p.m.): Set up tables in the morning, start decorating, more shopping and cake baking.
Saturday before banquet (9 a.m. to 10 p.m.): Finish all decorating; finish desserts; start prepping and cooking foods.
Sunday after church (1 p.m. to 6 p.m.): ALL HANDS ON DECK. Chop, slice, cook. . .dinner starts at 6 p.m.

This year's menu:
Wedge salad with Texas Ranch dressing
Fabulous Fruit Salad
Southwestern Braised Beef Roast
Parmesan Crusted Chicken
Loaded Twice Baked Potato
Asian Vegetable Medley
Corn
Dinner rolls
Dessert Choices: Chocolate Truffle Pie, Hawaiian Sunset Cake, White Chocolate Raspberry Truffle Cheesecake and Peanut Butter Cup Cheesecake
 Greenery and lights can go a long way!!
We always try to decorate the buffet
lines as beautifully as we can make them
. . .I'm sure it makes the food better!

Poor Tim spent an awfully lot of time on a ladder trying to get these wreaths up on this giant gym wall (a little to the right. . .no, a little higher), but I loved them. Thank you, Tim!

Rick and Helen and Tim and I started brainstorming about the possibility of having a very tall tree of lights in the middle of the gym. Rick and his brother came up with a great structure that we were able to use for it!

Team Christmas Party


Picture frame by Betty Dann--see how our adorable stickers can turn a simple frame into a beautiful Christmas gift!


Lisa Merrill bought a 12 x 12 acrylic frame and used our Bella scrapbook kit to turn it into a really beautiful dry erase board. She added a stand and attached dry erase marker to the top of the frame with a Velcro dot. You can't see it well in the photo, but there is a clear acrylic front to the frame, so that you can write and erase all you want.


Another yummy dessert!

I made these for my team Christmas party, and they were really good! A couple tips. . .be sure to crush your toffee bits and sprinkle them on immediately after the bars come out of the oven so that they kind of melt and form this creme brulee-like crust on the top. Also, I recommend initially cooling them in the fridge WITHOUT a lid. I did this and they were perfect. However, after the party, I put the remaining bars in the fridge with a lid on it. The condensation made the toffee bits on the top soggy and gross. But, if you have a very big group, there will not be leftover bars to refrigerate!!
1 pouch (1 lb. 15 oz.) Betty Crocker sugar cookie mix
1 box French vanilla instant pudding
2 T brown sugar
1/2 c. butter or margarine, melted
2 1/2 tsp. vanilla
2 whole eggs plus 3 egg yolks
2 8-oz. packages of cream cheese, softened
1/2 cup sour cream
1/2 c. sugar
2/3 cup toffee bits, finely crushed (you can find these in the baking aisle near the chocolate chips)
Heat oven to 350. Lightly spray bottom of a 9 x 13 pan. In a large bowl, stir cookie mix, pudding mix, brown sugar, melted butter, 1 tsp. of the vanilla and one whole egg until a soft dough forms. Press the dough into the pan and 1/2 inch up sides.
Beat cream cheese, sour cream and sugar with an electric mixer on medium speed until smooth. Add remaining whole egg, 3 egg yolks and remaining 1 1/2 tsp. vanilla; beat until smooth. Spread over crust.
Bake 30 to 35 minutes or until center is set. IMMEDIATELY sprinkle top with crushed toffee bits. Cool 30 minutes, then refrigerate about 3 hours until chilled. Store in refrigerator.

We had a blast making monster cupcakes for Andrew's birthday. Isn't it amazing what you can do with marshmallows, M&Ms, chow mein noodles, Airheads candy, pretzel sticks and frosting?? My favorite monster was the green guy with one eyeball.
I decided to make them because the colors would go with my Hooligans scrapbook paper!! Another scrapbooker guilty of staging her events to match her paper!


EASY NEVER-FAIL FUDGE

In a 2-quart saucepan, combine:
1 cup margarine or butter
1 cup milk
4 cups sugar
Bring to a boil over medium heat, stirring frequently. Boil for two minutes (keep stirring). Remove from heat and pour the mixture over 25 large marshmallows (or 250 small ones if you're a glutton for punishment)!! Stir with a wire whisk until smooth. Add one package of milk chocolate chips and one package of semisweet chocolate chips. Stir until smooth. Add 1 cup chopped nuts, if desired. Pour into a greased 9 x 13 pan and let cool.
Tuesday, November 30, 2010
Mocha Punch--one of my Christmas party favorites!
One of the fun things about being a Close to My Heart Consultant is that, when I do a party at someone's house, I get to sample some yummy snacks or beverages. . .and I often walk away with a great new recipe! I tried Mocha Punch at a hostess' house a few years ago and HAD to have the recipe. This punch is basically like drinking a chocolate milkshake with a little coffee flavor--mild enough that my kids still loved it. Honestly, if you serve this punch, who needs dessert?
Dissolve 1/4 cup instant coffee granules (I use decaf), 1/2 cup instant chocolate drink mix (like Nesquik) and 1/2 cup sugar in 1 1/2 quarts VERY HOT water. Cool the mixture in the fridge.
About 20 minutes before you're ready to serve, pour the cold coffee/chocolate mixture into a punch bowl. Add 1/2 gallon of vanilla ice cream and 1/2 gallon of chocolate ice cream (I add it in big scoops). It looks a bit ugly at first, but keep stirring it around until the ice cream starts to soften. . .and the consistency of the punch begins to look more like a milkshake. This usually takes about 15 minutes to get it looking right. When you serve, ladle it into punch cups and add some spray whipped cream to the top.
MOCHA PUNCH
Dissolve 1/4 cup instant coffee granules (I use decaf), 1/2 cup instant chocolate drink mix (like Nesquik) and 1/2 cup sugar in 1 1/2 quarts VERY HOT water. Cool the mixture in the fridge.
About 20 minutes before you're ready to serve, pour the cold coffee/chocolate mixture into a punch bowl. Add 1/2 gallon of vanilla ice cream and 1/2 gallon of chocolate ice cream (I add it in big scoops). It looks a bit ugly at first, but keep stirring it around until the ice cream starts to soften. . .and the consistency of the punch begins to look more like a milkshake. This usually takes about 15 minutes to get it looking right. When you serve, ladle it into punch cups and add some spray whipped cream to the top.
Sunday, November 14, 2010
Great Gifty Ideas Workshop Coming Up!


If you'd like to come to my Great Gifty Ideas workshop on Monday, November 22nd, sign up NOW! I've almost filled up this class. If I have more sign-ups, I may need to add a second night. We'll be making a stocking gift card holder, Hershey nugget box, M&M pillow box, Post-It note holder and maybe one other project (yet to be determined).
Cost for this class is $5 for materials plus a minimum $10 order.


Upcoming workshop--Coffee, Tea and Cocoa. . .Oh My!

If you'd like to attend this class, let me know by Tuesday, Nov. 23rd so that I can get the materials ordered for you. Cost for this class is only $10--that's a holiday bargain!

Andrew's AWANA Grand Prix card

second place in design for his bobsled car. We thought the car turned out pretty cool! His car was fast, too, but not quite fast enough to earn him a speed trophy. It's okay. . .we'll take design over speed!


Cards from Christmas Card Marathon


Friday, October 29, 2010
It's CHEESECAKE season!!

I'm a total recipe junkie--I scour through oodles of magazines, I browse cookbooks, and I look all over the internet. One of my FAVORITE places to get good recipes is from Todd Wilbur's Top Secret Recipes books and website. Both of these cheesecakes, White Chocolate Raspberry Truffle Cheesecake and Pumpkin Cheesecake, which I made for my Christmas Card Sampler class last night, come from Top Secret Recipes. They're both knock-offs of Cheesecake Factory cheesecakes, and they both were really YUMMY!! You can get the recipes from the Top Secret Recipes books or by buying the recipes individually off of his website, www.topsecretrecipes.com. They're usually 99 cents each. I'd type them here for you, but cheesecake recipes are awfully long!
I've found that the secret to good cheesecake is letting your cream cheese soften to room temperature and baking your cheesecake in a water bath (you wrap foil around your springform pan so the water doesn't get in) and set the pan inside another pan filled with 1/2 to 1" water. I also line my pans with parchment paper (sides and bottom) so that they come out easily.

CARDS FROM MY CHRISTMAS CARD SAMPLER

These are some of the cards we made at my Christmas Card Sampler Class last night. I'll be having another Christmas card class, the Christmas Card Marathon, coming up Nov. 8th or 9th (same class both nights). At the marathon class, we'll be making 20 cards in one night (four each of five designs). If you'd like to come, be sure to contact me! Cost is $8 for materials plus a $10 minimum order.


Wednesday, October 20, 2010
Magnifique!

If you live in the Springfield area and want to join one of my monthly workshop clubs, let me know!
Monday, October 11, 2010
MAKE A FUN HOME DECOR ITEM FOR THE HOLIDAYS!


Tuesday, October 5, 2010
THESE CARDS ARE CLEARLY THE MOST FUN!


Subscribe to:
Posts (Atom)